


-
×
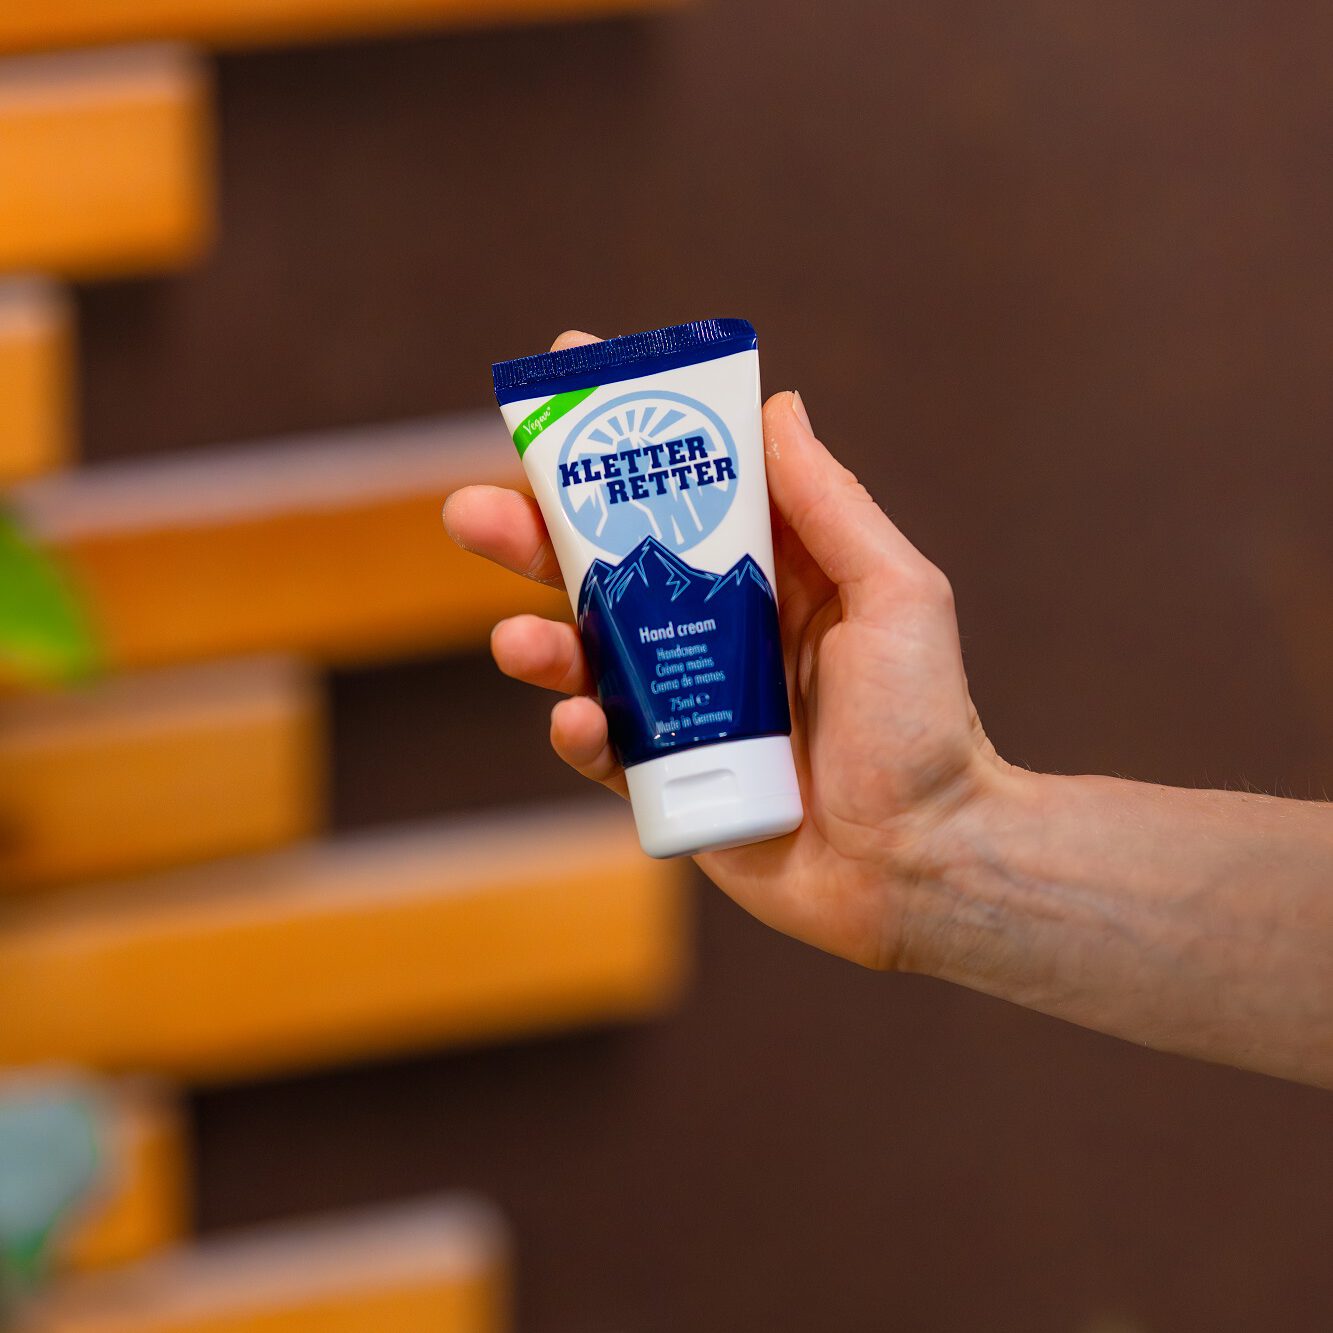
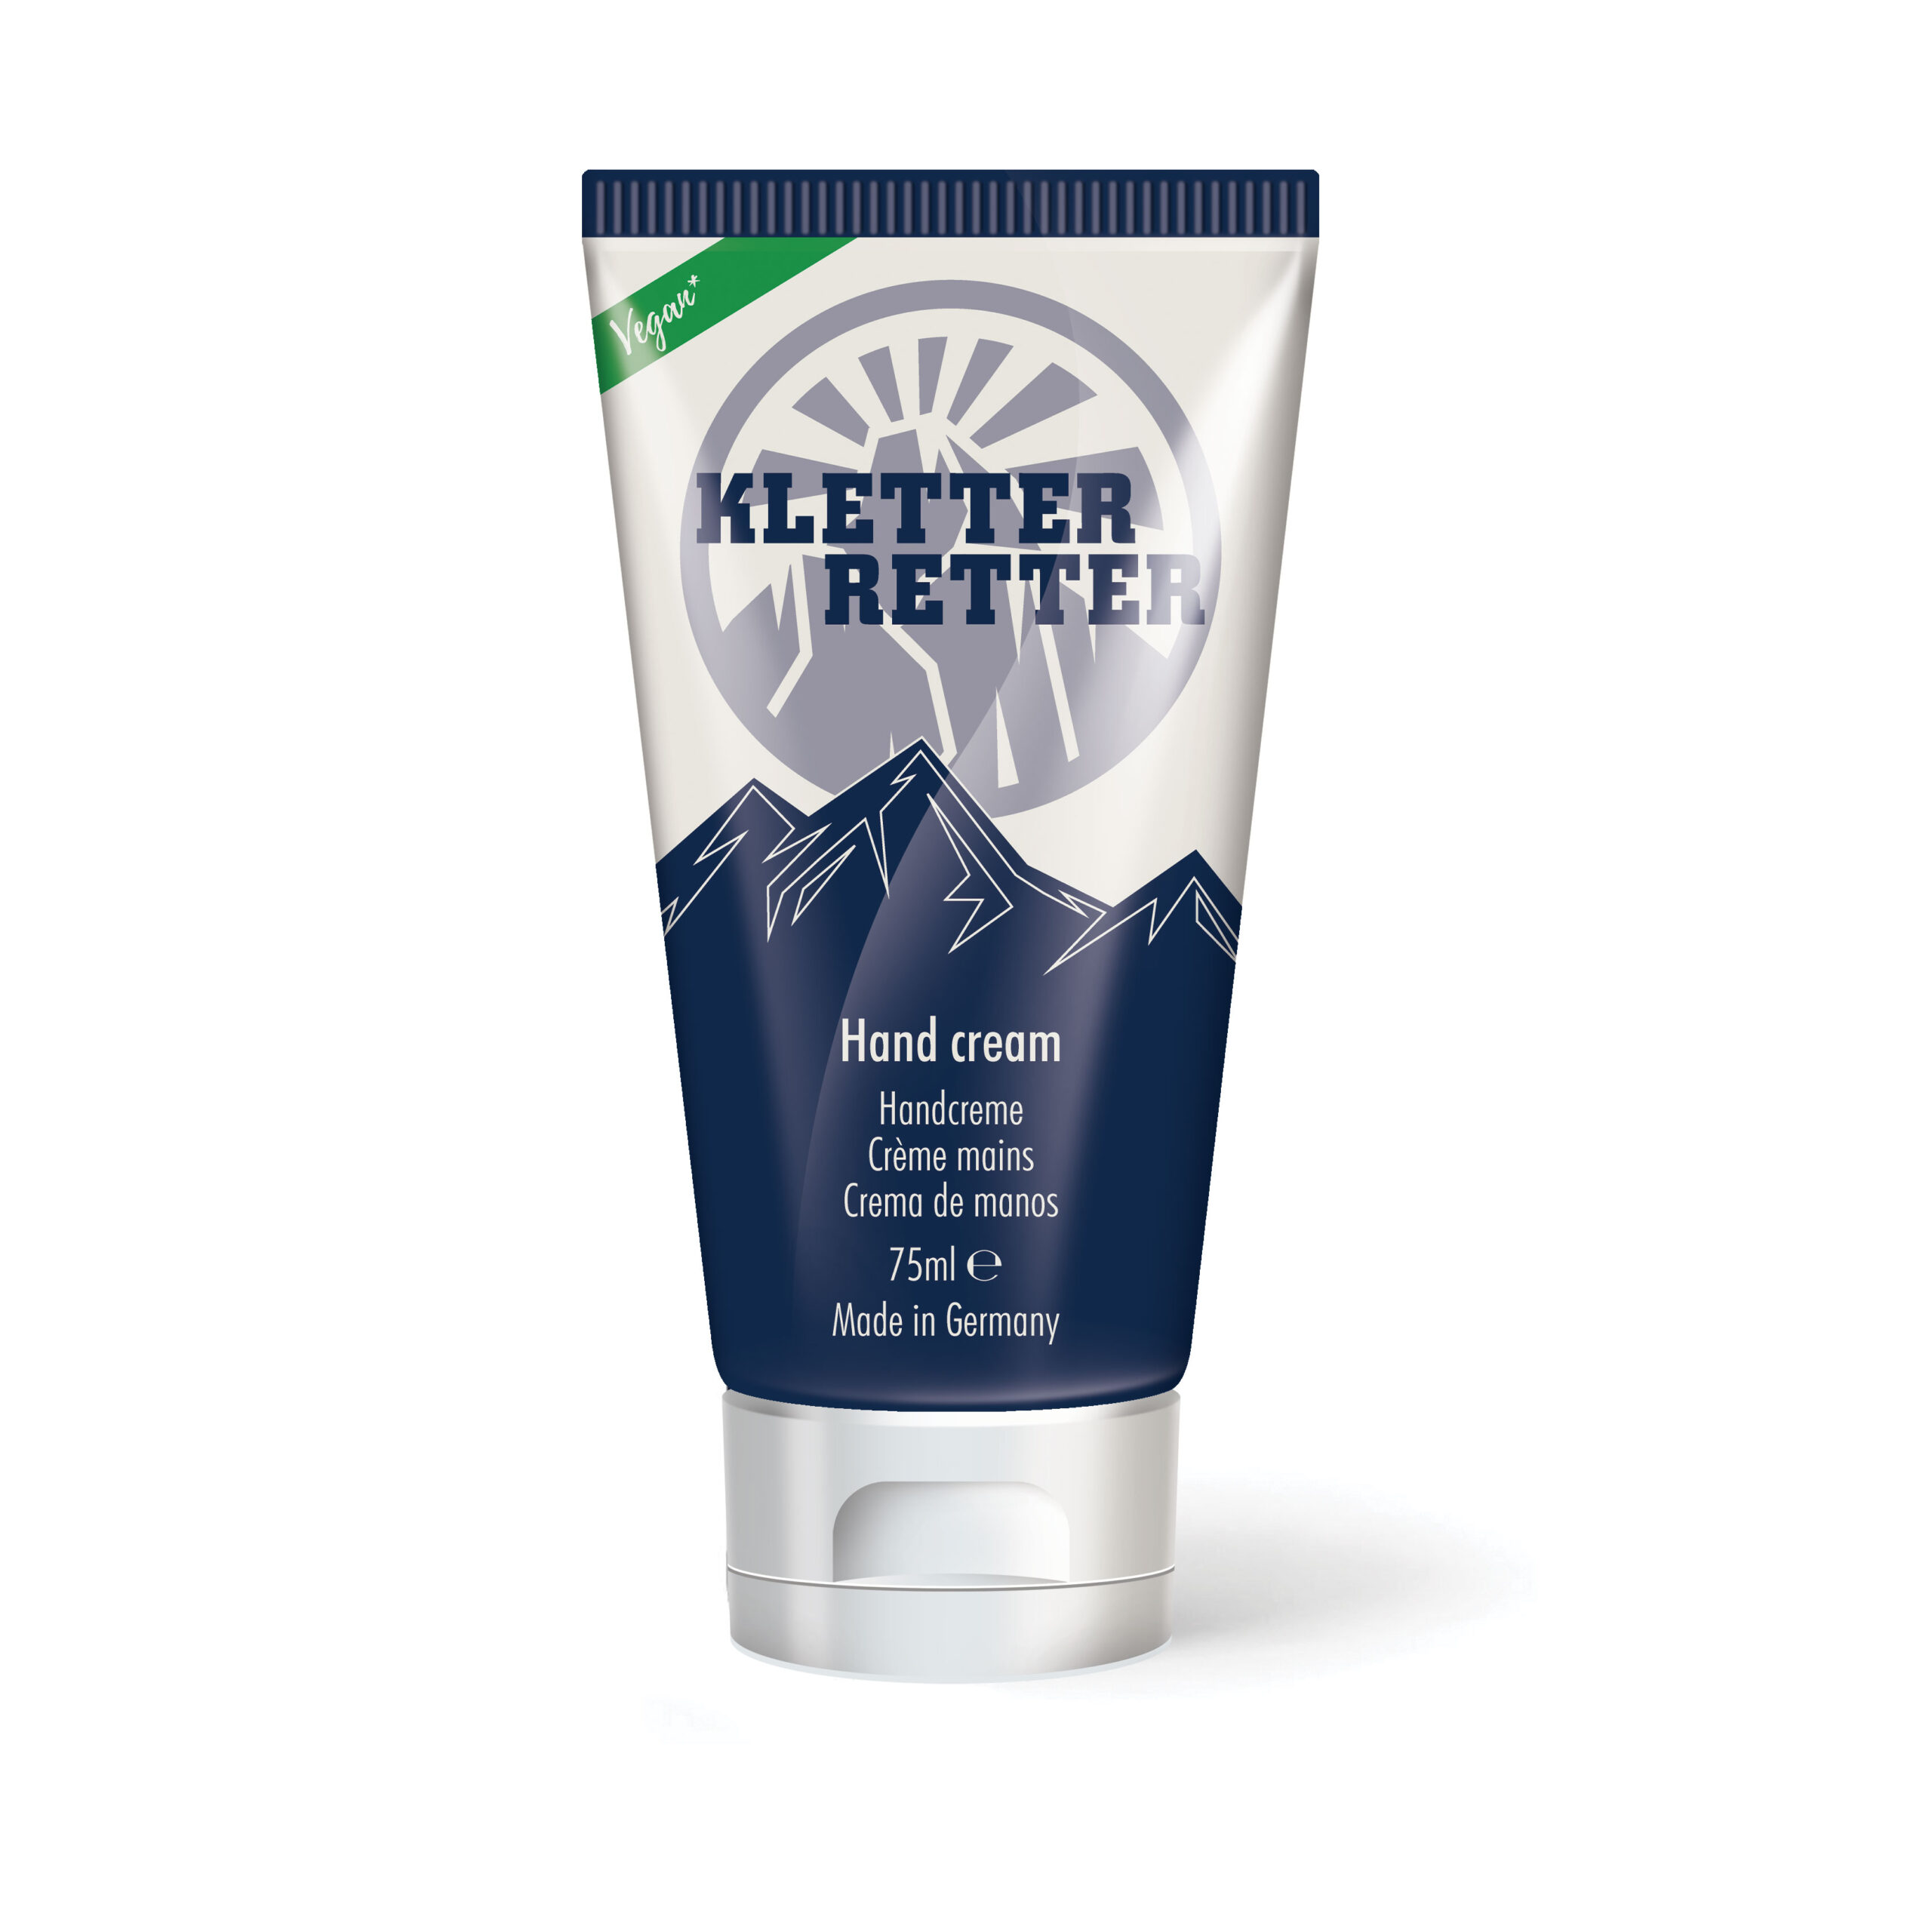 KletterRetter hand cream 75ml
1 × €12,90
KletterRetter hand cream 75ml
1 × €12,90
Expert Blog
Taping flappers: how to deal with skin injuries on your fingers
All it takes is a quick slip and bang, a small section of skin on your finger tears open and exposes the sensitive, deeper layer of skin. If you choose to ignore it and keep climbing, you will most likely experience an unpleasant burning sensation. If the tear is deep enough, it may even bleed. Time to stop? Not necessarily! With the right taping method, you still have a chance at ticking your project! And now we’ll explain how!
It’s annoying, but it’s not a broken leg!
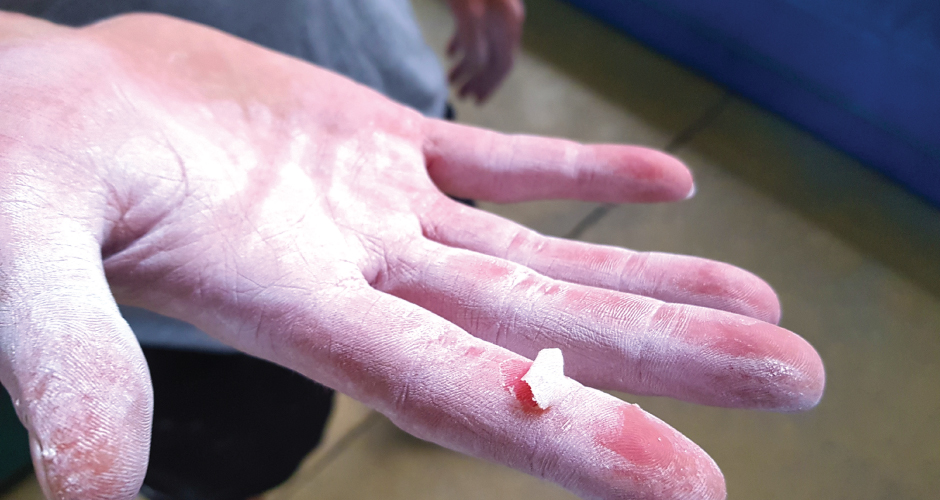
Cracked calluses and blisters are perhaps the most common climbing injury. It can affect anyone at any time without warning! The risk is higher if you are relatively new to climbing, don’t climb regularly or you’ve been swinging and jumping around on the wall. Sometimes the strain on your skin is simply too much. This frustrating injury is what climbers like to call a “flapper”, because of the way the loose skin just flaps around.
As annoying as it is, your session does not have to be over; the right tape can protect the injury well enough to allow you to get back on the wall.
Preparing the wound
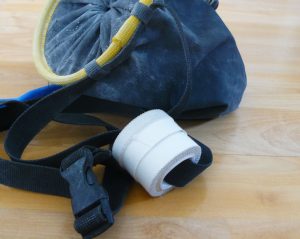
You should always have a roll of tape in your climbing bag. Whether it’s a wide, 5 centimeter roll or a narrow, 1.5 centimeter roll doesn’t make much of a difference. Although narrow tape is sufficient in most cases, wide rolls give you more options; you can easily tear it into different widths.
You should always wash your hands before dressing the wound. Chalk and dirt worsen the adhesion of tape. You do not need to remove the loose skin; it allows for additional protection of the wound and can support healing over the next few days. You will want to avoid sticking the tape directly on the flapper – you can easily avoid this by making a suitable, improvised wound dressing with a strip of tape, as described below.
Taping a flapper
The easiest way to treat a flapper is to tape it. All you need is a ring of tape to place over the open area. Usually a ten centimeter strip of tape will do the trick. Your goal is to protect your skin, so you won’t need to make the tape very tight. It’s best to tear the strip of tape completely off the roll before you start putting it on. Otherwise, the tape may become uncomfortably taut and affect the blood supply to the finger.
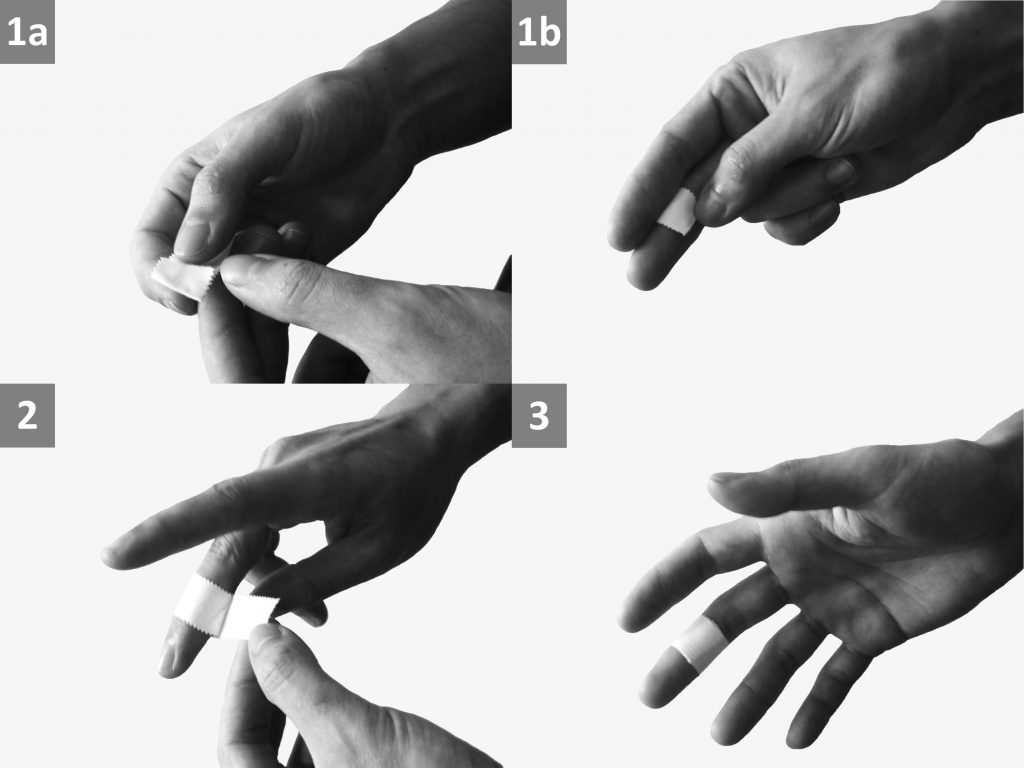
To prevent the tape from sticking to the loose skin (the flapper), fold over one end at the beginning so that the adhesive surface lies on the adhesive surface (1a). This end covers the flapper (1b). Then you pull the tape ring around your finger. (2) If you wrap it around twice, it should hold well. Make sure that the tape ends on the top of the finger. (3) Otherwise, the end piece will quickly come loose again whilst climbing. If you tore off too much tape, you can easily cut or tear off the excess.
Post climbing care
A few tips to conclude: after climbing you can treat the open area for a day or two with KletterRetter hand cream. This prevents the skin from drying out, thus preventing it from rupturing immediately on the next day of climbing. When the injury has healed, you can cut off the loose skin from the edges of the wound and file off any excess skin. This also prevents new injuries from occurring.
€6,90 incl. VAT
This product has multiple variants. The options may be chosen on the product page
P.S .: Unfortunately flappers are not exclusive to fingers; we will write about how to deal with torn calluses on your palms in the next article.
It works quite well for me! Thanks for the tips!
Went out and got myself another flapper today! I googled it, found this tip and used it straight away!
This is actually helpful, thanks.
Thanks, it’s quite informative!
I got a nasty flapper this weekend – thanks for the tip!
My stupid husband went with his friends to fake climb some place wall and got a flapper and he also removed the skin now he can’t sleep at night because of the pain