


Expert Blog
Climbing first aid
Being able to respond to an injury quickly and effectively can make a big difference! Always be prepared and stay safe out there!
In the case of a serious injury or emergency, always call your local emergency number first. Bleeding that won’t stop, deep lacerations, head injuries, or anything involving loss of consciousness is beyond the scope of a first aid kit. In these cases, you need to seek help immediately.
But for all the minor injuries that can ruin your climbing day such as flappers, split tips, abrasions, nail trauma, being prepared can keep you climbing or at least speed up recovery.
Common injuries
Climbing is an extreme sport. Combined with the elements we face, things can escalate quickly! The most important thing is to stay calm and act quickly.
| Common climbing injuries | Examples |
|---|---|
| Open wounds | Flappers, cuts, deep splits |
| Blisters | Common on palms and heels, especially in heat |
| Abrasions | From rough hold or falls |
| Cracked skin | From dryness, over-chalking, or cold conditions |
| Nail trauma | Torn fingernails, stubbed toes, crimp-related bruises |
| Broken bones or joint dislocations | Broken fingers, arms, ankles or dislocated shoulders |
| Head trauma | Bumping your head, falling or rock fall |
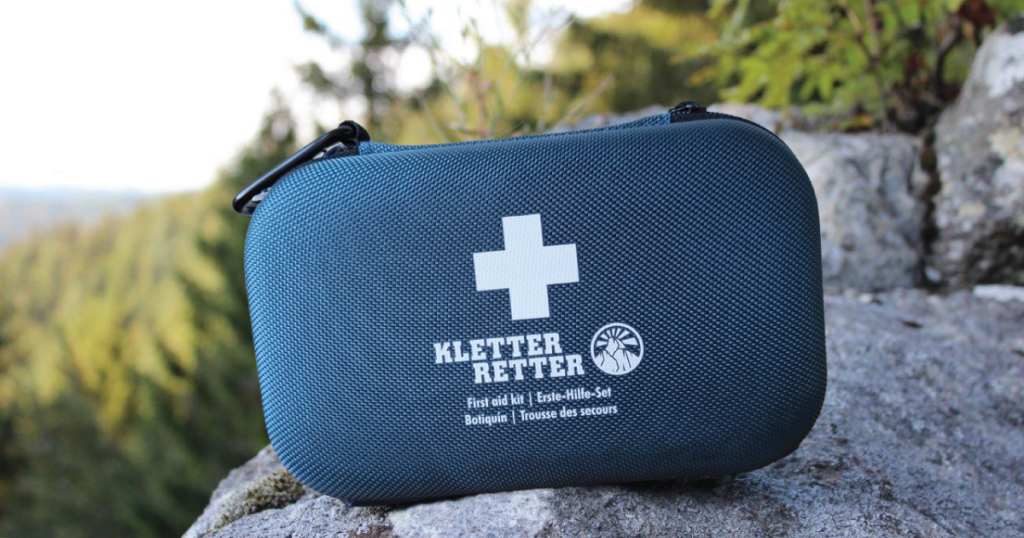
First aid essentials
You should always have a first aid kit nearby.
- Fingertape: climbing grade tape strong for emergency treatment
- Emergeny blanket: to keep warm in the event of an injury
- Sterile wound pads: for covering cuts and keeping chalk out
- Alcohol wipes: for quick cleaning when water isn’t available
- Bandage scissors: for cutting tape or pads cleanly
- Instant cold pack: to sooth and calm injuries
- Gloves: for safe treatment
Tip: carry your first aid kit with your personal skincare set to cover all bases and quickly treat climbing injuries.
Quick reference guide
We’ve put together a quick guide on how to quickly treat common skin injuries.
Flapper mid-session
- Wash your hands or use an alcohol wipe
- Trim the flap (if fully detached)
- Apply KletterRetter Repair Balsam
- Cover with a wound pad or tape
- Rest or tape and climb carefully
Split fingertips
- Rinse or wipe clean and pat dry
- Dab KletterRetter Repair Balsam into the split
- Tape flat to keep edges from tearing further
- Rest 1–2 days or climb with a secure wound dressing
Nail traumas
- If bleeding or bruised, disinfect and leave open (if possible)
- For toes: avoid tight shoes for the session
- Monitor for infection signs (swelling, redness, pus)
Abrasions / grazes
- Clean with water or alcohol wipe
- Apply KletterRetter Repair Balsam
- Cover with sterile pad if area is exposed to chalk/dirt
When to stop climbing
It’s tempting to just keep pushing on and climbing. Remember, if it’s too painful, it’s time to stop.
Signs it’s time to have a rest:
- Bleeding that won’t stop: seek medical advice
- Deep wounds into the middle layer of skin (dermis)
- Fingertips so raw they sting when touched
- Infection signs (red, swollen, warm to the touch)
Your skin is your biggest organ, so remember that if it gets damaged, early rest is much faster than rehab.
Be prepared
The scounts aren’t wrong when they say “be prepared”. Make sure everyone in your group know where to quickly access the closest first aid kit.
- Check your first aid kit before each outdoor trip
- Refill tape, cool packs and wound pads regularly
- Make a travel-sized version for quick gym visits
- Keep one in the car or your crag bag, not just at home
Pro tip: carry your first aid alongside your personal skin care set
You’ll need first aid less often if you:
- File calluses regularly
- Use tape proactively
- Moisturise daily
- Train smart and rest early